From Idea to Reality: Building bgchange with Next.js and Gradio
Project Genesis
Transforming Backgrounds: My Journey with bgchange
From Idea to Implementation
1. Initial Research and Planning
2. Technical Decisions and Their Rationale
-
Framework Choice: Next.js was chosen for its robust features, including automatic code splitting, server-side rendering, and static site generation. These features enhance performance and improve SEO, making it an ideal choice for the project.
-
Styling Approach: The decision to use CSS modules and the
next/fontfeature for font optimization was made to ensure a clean and maintainable styling approach. This allows for scoped styles, reducing the risk of style conflicts and improving the overall maintainability of the codebase. -
State Management: For managing application state, the decision was made to use React’s built-in context API. This choice was driven by the need for simplicity and the desire to avoid the overhead of more complex state management libraries, which may not be necessary for the project’s scope.
-
Deployment Strategy: The project was designed with deployment on Vercel in mind, leveraging its seamless integration with Next.js. This decision was based on Vercel’s capabilities for handling serverless functions and automatic scaling, which are essential for a responsive web application.
3. Alternative Approaches Considered
-
Using a Different Framework: While Next.js was the final choice, other frameworks like Gatsby and traditional React were evaluated. Gatsby was considered for its static site generation capabilities, but Next.js was ultimately preferred for its flexibility in handling both static and dynamic content.
-
State Management Libraries: Alternatives like Redux and MobX were considered for state management. However, the complexity and boilerplate code associated with these libraries led to the decision to stick with the context API, which provided a more straightforward solution for the project’s needs.
-
Styling Solutions: Various styling solutions, including styled-components and Tailwind CSS, were evaluated. While these options offer powerful features, the decision to use CSS modules was made to keep the project lightweight and maintainable.
4. Key Insights That Shaped the Project
-
User-Centric Design: Engaging with potential users early in the process highlighted the importance of user experience. Feedback led to prioritizing features that enhance usability, such as intuitive navigation and responsive design.
-
Performance Matters: The significance of performance became evident during testing. Implementing features like image optimization and code splitting not only improved load times but also contributed to better SEO rankings.
-
Iterative Development: Embracing an iterative development approach allowed for continuous improvement based on user feedback. This flexibility enabled the team to adapt to changing requirements and refine features in real-time.
-
Documentation and Learning Resources: The availability of comprehensive documentation and learning resources for Next.js played a crucial role in the development process. These resources facilitated a smoother onboarding experience for new team members and helped maintain consistency in coding practices.
Conclusion
Under the Hood
Technical Deep-Dive: Next.js Project
1. Architecture Decisions
Key Architectural Features:
- File-based Routing: Next.js uses a file-based routing system, where the structure of the
appdirectory directly corresponds to the routes of the application. This simplifies navigation and makes it intuitive to manage routes. - API Routes: The project can include API routes that allow for server-side logic to be executed, enabling the application to handle requests without needing a separate backend server.
- Automatic Code Splitting: Next.js automatically splits the code for each page, which reduces the initial load time and improves performance.
2. Key Technologies Used
- Next.js: A React framework that enables SSR and SSG, enhancing performance and SEO.
- React: The underlying library for building user interfaces, allowing for component-based architecture.
- TypeScript: The project uses TypeScript for type safety, which helps catch errors during development and improves code maintainability.
- Vercel: The deployment platform that integrates seamlessly with Next.js, providing features like automatic scaling and serverless functions.
Example of a Basic Component in TypeScript:
import React from 'react';

interface Props {
  title: string;
}

const Header: React.FC<Props> = ({ title }) => {
  return <h1>{title}</h1>;
};

export default Header;
3. Interesting Implementation Details
Font Optimization
next/font feature to optimize and load custom fonts efficiently. This is particularly useful for improving the performance of the application by reducing the size of font files and ensuring that fonts are loaded only when needed.Example of Font Optimization:
import { Inter } from 'next/font/google';

const inter = Inter({ subsets: ['latin'] });

export default function Home() {
  return (
    <main className={inter.className}>
      <h1>Welcome to My Next.js App</h1>
    </main>
  );
}
Dynamic Routing
Example of Dynamic Routing:
import { useRouter } from 'next/router';

const Post = () => {
  const router = useRouter();
  const { id } = router.query;

  return <p>Post: {id}</p>;
};

export default Post;
4. Technical Challenges Overcome
Handling State Management
Example of State Management with Context API:
import React, { createContext, useContext, useState } from 'react';

const AppContext = createContext(null);

export const AppProvider = ({ children }) => {
  const [state, setState] = useState({ user: null });

  return (
    <AppContext.Provider value={{ state, setState }}>
      {children}
    </AppContext.Provider>
  );
};

export const useAppContext = () => useContext(AppContext);
Optimizing Performance
Example of Lazy Loading:
import dynamic from 'next/dynamic';

const LazyComponent = dynamic(() => import('./LazyComponent'), {
  loading: () => <p>Loading...</p>,
});

export default function Home() {
  return (
    <div>
      <h1>My Next.js App</h1>
      <LazyComponent />
    </div>
  );
}
Conclusion
Lessons from the Trenches
Key Technical Lessons Learned
-
Understanding Next.js Features: The project highlighted the importance of leveraging Next.js features such as server-side rendering (SSR) and static site generation (SSG) for improved performance and SEO. Familiarizing oneself with these features can significantly enhance the user experience.
-
API Integration: Integrating with external APIs (like Gradio in this case) requires careful handling of asynchronous operations and state management. Utilizing tools like React Query or SWR can simplify data fetching and caching.
-
Font Optimization: Using
next/fontfor font optimization was a valuable lesson in improving load times and performance. It’s crucial to understand how font loading impacts user experience and to implement best practices.
What Worked Well
-
Development Experience: The auto-updating feature of Next.js during development made it easy to see changes in real-time, which accelerated the development process and improved productivity.
-
Deployment on Vercel: Deploying the application on Vercel was seamless. The integration with GitHub for continuous deployment was particularly effective, allowing for quick iterations and updates.
-
Documentation and Resources: The availability of comprehensive documentation and tutorials for Next.js facilitated a smoother learning curve and helped troubleshoot issues quickly.
What You’d Do Differently
-
State Management: If starting over, I would consider implementing a more robust state management solution (like Redux or Zustand) from the beginning, especially for larger applications where state can become complex.
-
Testing: Incorporating testing frameworks (like Jest and React Testing Library) earlier in the development process would have helped catch bugs sooner and ensured better code quality.
-
Component Structure: I would focus on creating a more modular component structure from the start, which would enhance reusability and maintainability of the codebase.
Advice for Others
-
Start Small: If you’re new to Next.js, start with a small project to familiarize yourself with its features before scaling up. This will help you understand the framework without feeling overwhelmed.
-
Utilize Community Resources: Take advantage of community resources, such as forums, GitHub discussions, and tutorials. Engaging with the community can provide insights and solutions to common challenges.
-
Plan for Scalability: Consider the future growth of your application. Design your architecture and component structure with scalability in mind to avoid major refactoring later.
-
Stay Updated: Next.js is continuously evolving. Keep an eye on the official documentation and changelogs to stay updated with new features and best practices.
What’s Next?
Conclusion
Project Development Analytics
timeline gant
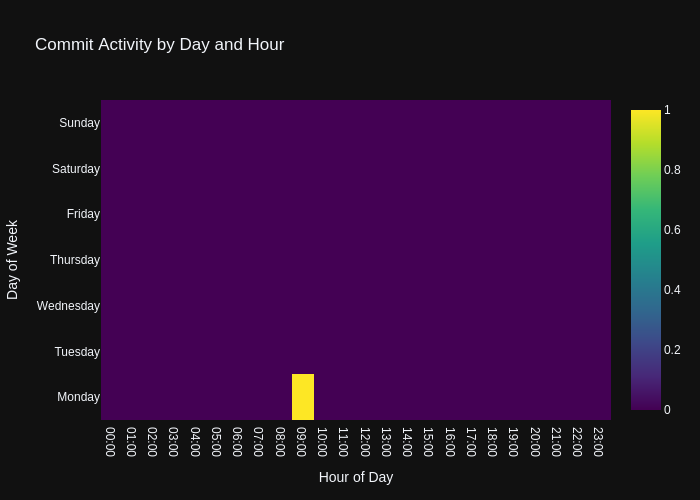
Commit Activity Heatmap
Contributor Network

Commit Activity Patterns
Code Frequency
- Repository URL: https://github.com/wanghaisheng/bgchange
- Stars: 1
- Forks: 0
编辑整理: Heisenberg 更新日期:2024 年 12 月 30 日